
Over the last month, things have been pretty busy with work and trips to Chicago (more on this later), but one project that I’ve really enjoyed is installing some uplighting around the house. Deena has actually wanted this for quite a while, so we asked a few professional services to give us some quotes, and they all gave estimates ($4000-5000) that were far outside our budget ($1500). I had recently read a great article about DIY uplighting from This Old House, and decided to give it a try for myself.
The first thing was to get a vague idea of what exactly I wanted in the property, so I went to Google Earth and pulled up an image of our property to get a general lay of the land.

Once this was done, I walked around the property to see where I wanted lights — this was the most time-consuming part of the project, and although books were somewhat helpful, the best sources of information came from Pinterest and lookbooks of similar colonial houses on the Volt Lighting Photo Gallery. I decided that the most important things I wanted to do were:
- Light up the prow of the gable roof
- Light up the exterior front walls with gentle indirect light, showcasing the textured brick facade
- Light up the magnolia and weeping willow
- Light up the front path
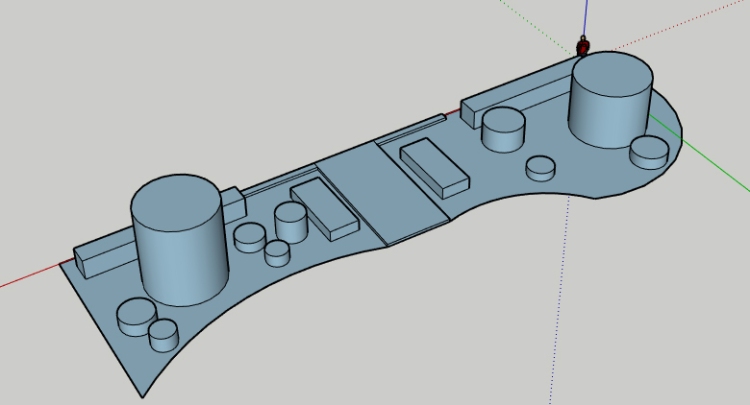
Once I clarified these objectives, I built a scale model of our front yard in the free Sketchup webapp to mock where the best placement of the lights would be.
Once this was done, I went to voltlighting.com and purchased a bunch of lights! This was a tough choice since a lot of traditional forums recommended Kichler, but the volt website was much more user-friendly and had a better resource center dedicated to people who wanted to DIY. And so, after a few phone calls, I ended up purchasing:
- two 22′ Elegant Harp path lights [3W 2700K LED]
- six wall wash lights (three for each side of the house) [4W 2700K LED]
- two ‘Fat Boy’ wide spotlights for the trees [3W 60 degree 2700K LED]
- two ‘Fat Boy’ bullet spotlights for the gable [7W 12 degree 2700K LED]
- two Pro Junction Hubs
- five hundred feet of 12/2 wire
- three 12-packs of Blazing DBR Splice Connector gel wire-nuts
- 300W multi-tap low voltage transformer with photocell
Total damage for all of this was about $1,100, but I also purchased some electrical tape, PVC pipe, and a multimeter. After this, it was time to get to work (cue Rocky-style montage)


It ended up taking me and my dad about eight hours of solid work to get everything done, but a lot of this was redundant work that could be sped up considerably in the future (i.e. checking impedences, learning how to strip wire properly lol)

All in all, I was really happy with the results — if I had to do this again, I would advise (1) purchasing lights with 25′ lead wire (instead of 4′), (2) use hubs instead of daisy chains from the start, (3) not to twist fixtures too much (at risk of pulling out lead wire), and (4) double check all light fixtures with a 9V battery before starting anything. As always, hindsight is 20/20 🙂
